Venepuncture is a fairly common procedure, however, correct technique and safe practice are essential in preventing inaccurate results or harm to patients and staff (WHO 2010).
What is Venepuncture?
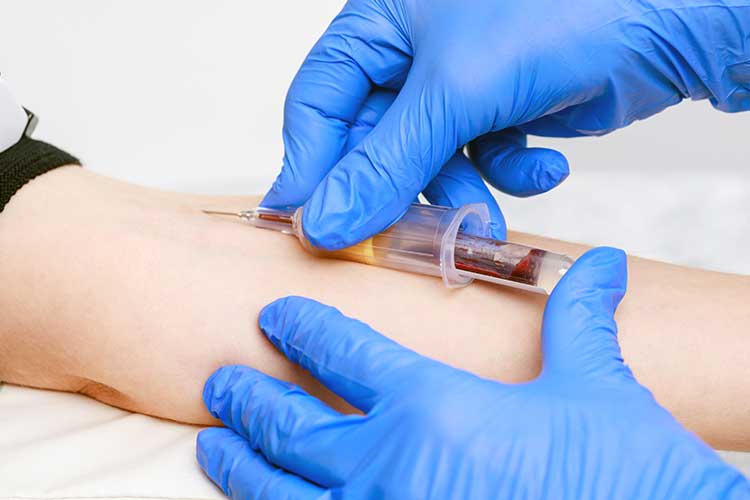
Venepuncture is a routine invasive procedure that involves puncturing a vein with a needle to gain venous access, either for phlebotomy (the collection of blood) or the provision of intravenous therapy (Shlamovitz 2023; TeachMe Surgery 2017).
Typically, phlebotomy is used to retrieve a blood sample for laboratory testing, but it can also be used for donations or therapeutic reasons (PhlebotomyU 2022).
Venepuncture can be used to:
- Retrieve a blood sample for diagnostic reasons
- Assess levels of blood components
- Give intravenous therapy (e.g. medicines, nutrition, chemotherapy)
- Remove blood due to excess levels of iron or erythrocytes, which can help to treat conditions such as:
- Haemochromatosis
- Polycythaemia vera
- Porphyria cutanea tarda
- Sickle cell disease
- Nonalcoholic fatty liver disease
- Collect blood for later uses (e.g. transfusions).
(PhlebotomyU 2022; Nelson 2023)
Phlebotomy
Phlebotomy Sites
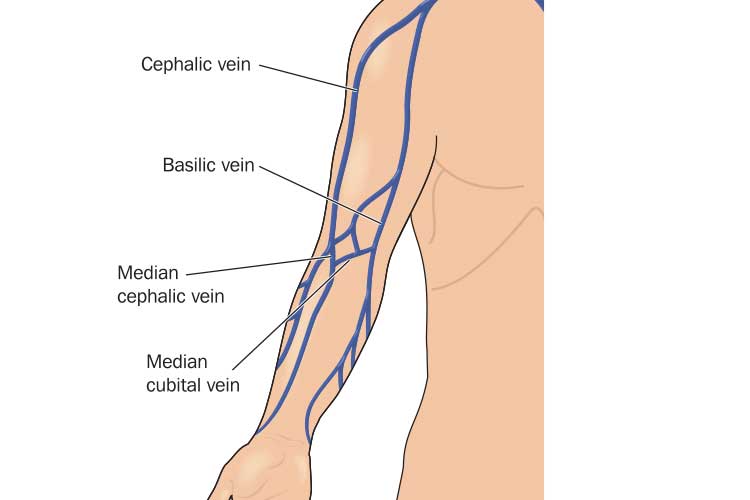
The preferred sites for phlebotomy are the following superficial veins in the antecubital fossa:

- Median cubital vein (most common site)
- Cephalic vein
- Basilic vein.
Rarely, if none of these veins are deemed appropriate, a dorsal vein on the hand may be used. However, this should only be attempted by experienced practitioners as these veins are more difficult to puncture (NHS 2011).
In infants, the lateral plantar surface of the heel is commonly used (Srikanth & Lotfollahzadeh 2023).
Inappropriate Sites
When selecting a venepuncture site, you should avoid:
- Burn-affected areas (due to risk of infection, excess tissue fluid or pain)
- An arm on the same side as a mastectomy (due to risk of lymphostasis)
- Haematomas
- Sites where oedema is present
- An arm in which blood is being transfused
- An arm in which a patient is receiving intravenous therapy
- An arm where a fistula is present
- Scarred areas from burns or surgery
- Cannulas, vascular grafts and heparin locks
- Thrombosed veins.
(Pathology West 2015; ECCH 2020)
Performing a Phlebotomy
- Organise required equipment (refer to your organisation’s policies and procedures).
- Confirm the patient’s identity and explain the procedure.
- Ask the patient if they have any allergies or phobias or have fainted from injections in the past so that you can make appropriate arrangements (e.g. ensuring the patient is seated in case they faint). Reassure the patient if they are anxious and ask what would make them more comfortable.
- Choose the most appropriate arm for insertion and apply a tourniquet. The tourniquet should be left on for no longer than two minutes.
- Position the patient’s arm downwards.
- Choose the most appropriate puncture site. The chosen vein should be large, visible, straight and clear.
- Perform hand hygiene and don non-sterile gloves.
- Cleanse the chosen puncture site and allow it to dry.
- Hold the patient's arm and place your thumb below the chosen puncture site to stabilise the vein.
- Ask the patient to form a fist to make the vein more visible.
- Inform the patient that you are intending to puncture the chosen site.
- Enter the vein from above or the side of the site. You should puncture the vein at a 15 to 30-degree angle with the bevel facing up. Slightly decrease the angle of the needle once you have entered the vein and insert a fraction further. Do not thread the needle up the vein.
- If there is no blood return, you can release the tourniquet and re-attempt the phlebotomy one more time at a different site.
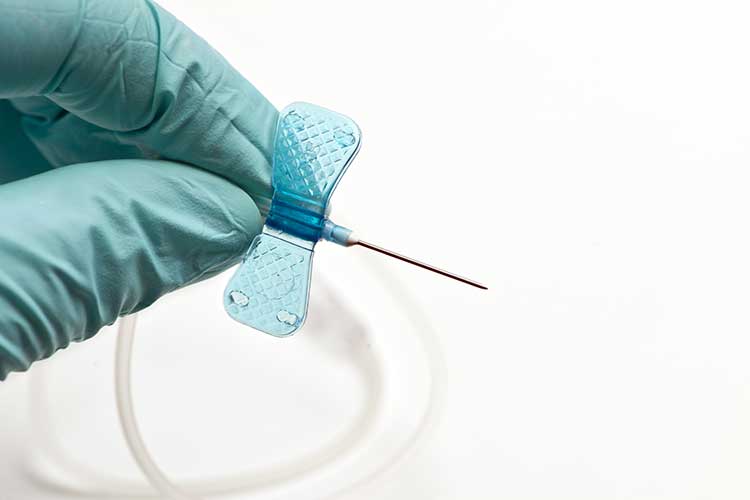
- Attach the designated blood transfer device to collect the blood sample.
- The tourniquet can be loosened slightly during blood collection.
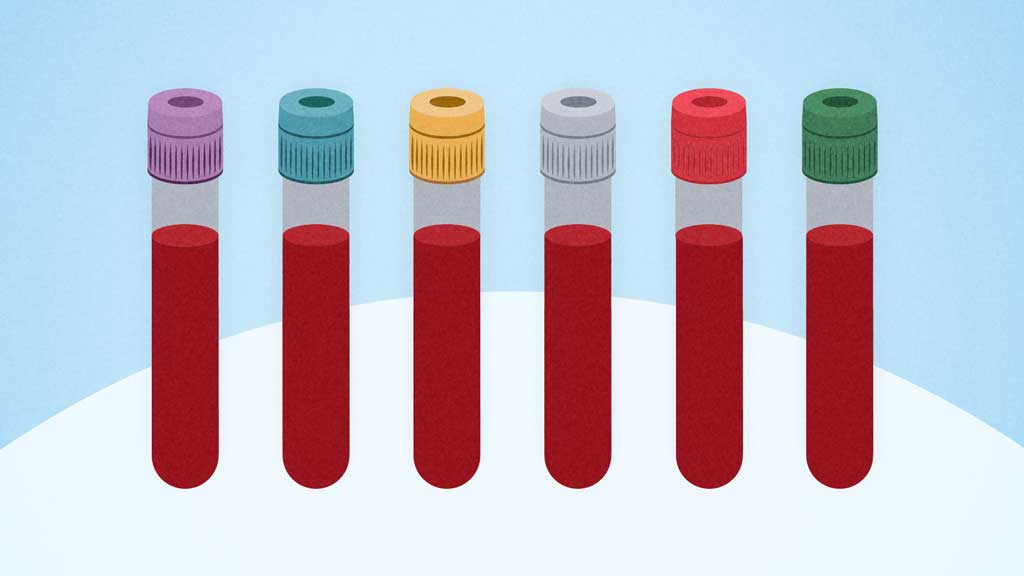
- Follow the correct order of draw to avoid contamination of additives (refer to your organisation’s policies and procedures).
- Once the blood collection has been completed, release the pressure of the tourniquet and then completely remove the needle.
- Apply pressure to the puncture site until the bleeding stops. Keep the patient’s arm straight.
- Dress the puncture site.
- Discard the needle into a sharps container and dispose of other equipment as required.
- Label the blood sample as required.
- Clean any body fluid spills.
- Remove gloves and perform hand hygiene.
- Monitor the patient for a few minutes after the procedure and inspect the venepuncture site for bleeding. Provide aftercare advice.
- Sit the patient up slowly and ask how they are feeling. Before the patient leaves, ensure they are able to stand up without experiencing dizziness or a drop in blood pressure.
- Dispose of waste and clean equipment as required.
- Perform hand hygiene.
(SCHN 2023; Pathology West 2015; WHO 2010; NHHI 2018)

Risks and Complications of Phlebotomy
Unsafe and poorly-conducted phlebotomies can pose a variety of risks to both patients and healthcare staff:
| Health risks to patient | Health risks to staff | Other potential issues |
|---|---|---|
|
|
|
(WHO 2010; Pilbeam et al. 2018)
In order to reduce the risk of infection, healthcare staff should adhere to aseptic non-touch technique and hand hygiene principles (SCHN 2023).
Intravenous Cannula Insertion
Cannula Sites
The preferred sites for cannula insertion are dorsum of the hand or the long saphenous vein in the leg. The antecubital fossa should generally be avoided unless there are no other appropriate sites. The chosen vein should be visible, straight, easily compressed and not over a joint (SCHN 2023).
Inserting a Cannula
- Confirm the patient’s identity and explain the procedure.
- Identify and examine all suitable sites to determine which is the most appropriate.
- Apply a tourniquet and palpate the chosen vein.
- Determine the gauge of cannula most appropriate for the patient.
- Remove the tourniquet.
- Perform hand hygiene.
- Organise required equipment (refer to your organisation’s policies and procedures).
- Perform hand hygiene. Don non-sterile gloves and PPE.
- Apply the tourniquet.
- Cleanse the chosen site and allow it to dry.
- Ensure the bevel of the cannula is facing up.
- Hold the patient's arm and place your thumb below the chosen puncture site to stabilise the vein.
- Enter the skin below or to the side of the vein. Flashback should enter the cannula.
- Insert the cannula 5 mm further.
- Decrease the angle between the cannula and the skin. Thread the cannula over the needle into the vein.
- Release the tourniquet.
- Apply pressure above the tip of the cannula and remove the stylet.
- Connect the T-piece and flush the cannula. Assess for resistance, pain, swelling or leakage.
- Apply dressing, ensuring the insertion site is still visible.
- Stabilise the limb if required.
- Dispose of equipment as required.
- Remove gloves and perform hand hygiene.
- Document the procedure.
(SCHN 2023)

Note: When performing phlebotomy or inserting a cannula, the practitioner must make no more than two attempts to puncture the skin at any given time, irrespective of whether the vein has been punctured during the attempt (SCHN 2023).
Note: This article is intended as a refresher and should not replace best-practice care. Always refer to your organisation's policy on venepuncture.
Test Your Knowledge
Question 1 of 3
Claire needs to have a blood sample taken. She has an intravenous cannula in-situ on her left hand. Which one of the following would be the most appropriate phlebotomy site?
Topics
References
- East Coast Community Healthcare 2020, Venepuncture Policy and Procedure, ECCH, viewed 21 August 2023, https://www.ecch.org/media/hfcp1dsz/venepuncture-2020.pdf
- National Hand Hygiene Initiative 2018, Blood Collection - Hand Hygiene Practice Guidelines - Auditing Guide, Australian Government, viewed 21 August 2023, https://www.safetyandquality.gov.au/sites/default/files/2019-10/blood_collection_audit_guidelines_-_revised_august_2018.pdf
- Nelson, A 2023, What Is Phlebotomy?, WedMD, viewed 21 August 2023, https://www.webmd.com/a-to-z-guides/what-is-phlebotomy#1
- Pathology West 2015, Venepuncture Handbook, New South Wales Government, viewed 21 August 2023, https://www.wslhd.health.nsw.gov.au/ArticleDocuments/1654/Venepuncture%20Handbook.doc.aspx
- PhlebotomyU 2022, What Does Venipuncture Mean?, PhlebotomyU, viewed 21 August 2023, https://phlebotomyu.com/what-does-venipuncture-mean/
- Pilbeam, V, Ridoutt, L & Badrick, T 2018, ‘Best Practice Pathology Collection in Australia’, Asia Pacific Journal of Health Management, vol. 11, no. 1, https://www.researchgate.net/publication/341590407_Best_Practice_Pathology_Collection_in_Australia
- Shlamovitz, GZ 2023, Intravenous Cannulation, Medscaspe, viewed 21 August 2023, https://emedicine.medscape.com/article/1998177-overview
- Srikanth, KK & Lotfollahzadeh, S 2023, ‘Phlebotomy’, StatPearls, viewed 21 August 2023, https://www.ncbi.nlm.nih.gov/books/NBK574569/
- The Sydney Children’s Hospital Network 2023, Peripheral Intravenous Catheters - Clinical Standard, New South Wales Government, viewed 21 August 2023, https://resources.schn.health.nsw.gov.au/policies/policies/pdf/2013-9077.pdf
- TeachMe Surgery 2017, Venepuncture, TeachMe Surgery, viewed 21 August 2023, https://teachmesurgery.com/skills/clinical/venepuncture/
- World Health Organisation 2010, WHO Best Practices for Injections and Related Procedures Toolkit, WHO, viewed 21 August 2023, https://www.ncbi.nlm.nih.gov/books/NBK138496/
 New
New 
